Pi Zero Birdcam
Posted on Sat 15 June 2024 in Making
Nestbox camera with a Pi Zero W and PiCamera2
In an early post on this blog, I detailed my steps for creating a nestbox streaming camera. I've updated my setup so I thought a new post on the topic would be in order.
A Raspberry Pi Zero W and its camera are small enough to fit inside a nestbox without taking up too much room from the birds. You do need to supply good power to the Zero, so you'll have one cord running out of the box. Make sure to run the cable in such a way that it doesn't cause water to drip into the nestbox. Also, make sure a snake can't use the cord as a means to scale their way up and into the box. Snakes will eat bird eggs if they can get to them.
Pi setup and configuration
It's pretty easy to install all the needed software to a headless Raspberry Pi Zero W. There's a good article over at Tom's Hardware that describes the process, plus gives you tips for accessing the Pi Zero when it's plugged into your computer's USB port. Install the "Lite" version, which doesn't include the GUI. During the installation, make sure to set a unique hostname for your Pi Zero.
I'm using the newer PiCamera2 library for my streaming server. It does not support the legacy Pi camera interface. So, if you're running Bullseye or another non-current OS version, make sure to use raspi-config to disable the legacy camera interface. Bookworm has removed the legacy interface altogether, so you're set if you're using Bookworm.
Speaking of Bullseye, if you're running that older version of the Raspberry Pi OS, you'll need to tweak the /boot/config.txt file. You need to set the dtoverlay to ov5647 in order for the camera to be detected on the new camera interface. You can add this line at the end of the config.txt file. If a dtoverlay line already exists, as shown here, comment it out by adding a # to the beginning of the line:
# dtoverlay=vc4-kms-v3d
dtoverlay=ov5647
With those configurations out of the way, reboot your Pi Zero. Then, ssh into it in order to perform the remaining configurations.
PiCamera2 set up
Install PiCamera2 if it's not already installed. On my Bullseye-based Pi, it was already installed. But it was not installed on the newer Bookworm Lite version. The --no-install-recommends argument specifies to not install various helper apps, which are mostly GUI-based. You won't need them, and if you installed the Lite OS version, you wouldn't be able to run them anyway.
sudo apt install -y python3-picamera2 --no-install-recommends
If you'll be installing any other Python libraries, I recommend you create a virtual environment. However, you'll need to include the system packages in this environment or you won't have access to PiCamera2 that you just installed. Use this command to create the virtual environment:
python3 -m venv --system-site-packages venv

# then activate the virtual environment
source venv/bin/activate

# now you can pip install packages without interfering
# with other Python setups on your system
The streaming server
The PiCamera2 project provides various example scripts, including a handy streaming MJPG script. It's long, so I won't include a copy here. Grab it from the link provided. I'm using the script mostly unmodified. I named my file rpi_cam.py. I updated the title and H1 text to be a bit more applicable to my use-case. I also increased the stream dimensions from 640 x 480 to 800 x 600 (there are two spots in the file to change that).
Getting it all to run at boot
Of course, you'll want the script to run when you boot your Pi Zero. Create a shell script, named rpi_cam.sh, with the following contents:
#!/usr/bin/env bash

# activate the virtual environment if you created one
source /home/pi/venv/bin/activate
# run the camera script
python /home/pi/rpi_cam.py
You need to use the full path to the virtual environment and script if you'll be using the crontab technique I describe next. Don't forget to make the script executable with chmod +x rpi_cam.sh
To run the script automatically when the PiZero boots, run sudo crontab -e and add this line at the end:
@reboot /home/pi/rpi_cam.sh &
You need the full path to the shell script. The crontab will be executed as a system user that won't otherwise "know" about your home directory path. The & at the end runs the script as a detached process (i.e. in the background) so that it will keep running when the crontab process finishes.
Loading the resulting page
Once you've done everything above, reboot the Pi Zero one more time. Once it has booted, use your browser to visit http://the_hostname.local:8000/ and you should see the streaming output from your camera!
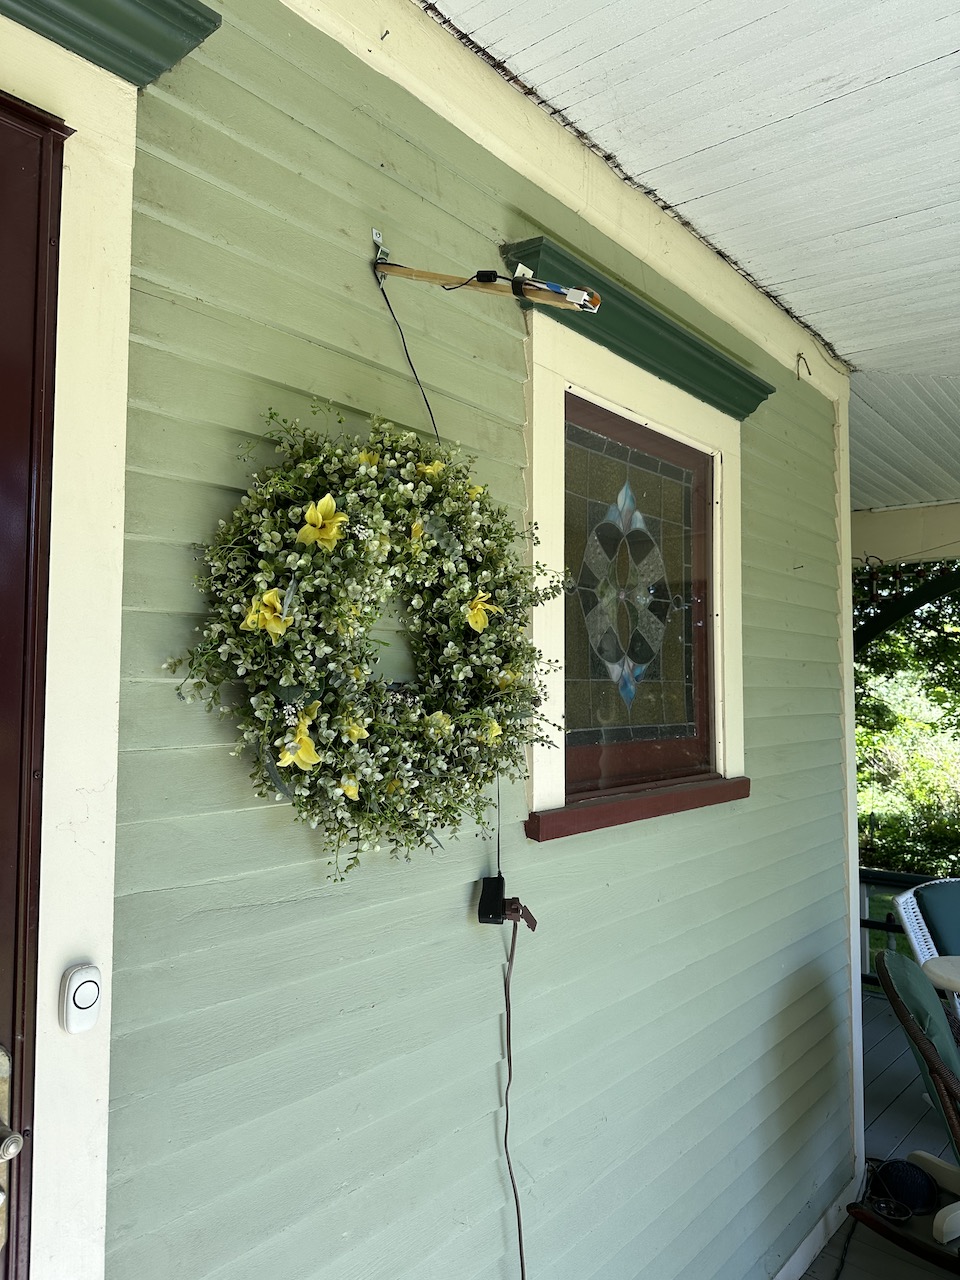
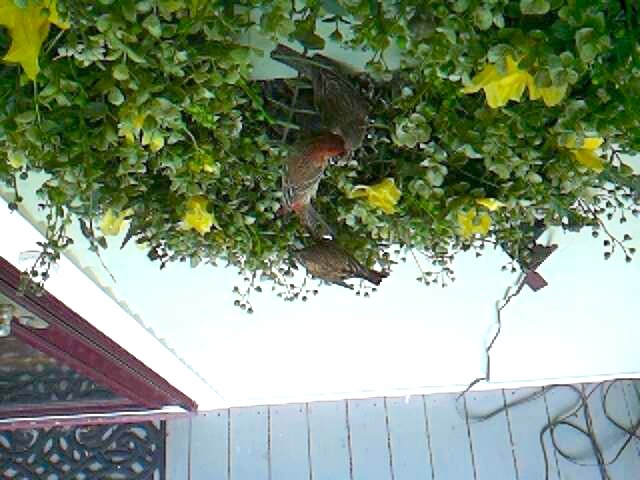
We had a pair of house finches build a nest in a wreath hanging on our front porch. Here's a shot of the camera rigged up to watch the nest, and a picture of the nest itself.

